


In this tutorial, we will create a React Weather App and use React's latest hooks. At the end of this tutorial, you will have knowledge about React's most common hooks and how to create a custom hook. You can see the application that we will create in this tutorial.

Prerequisites
- Comfortable with Html
- Javascript, ES6 to see what is React and what is Javascript
- Basic React knowledge like props, components, one way-data-flow
What we will cover
- Using state and useState
- fetching an API with useEffect
- use of custom hooks in our application
By the end of the tutorial, you will have the following skill sets:
The hands-on practical and real-life scenario of creating Weather Application using React Hooks
What Are React Hooks?
Hooks are a new addition in React 16.8. With the help of hooks, we can use state and other React features without writing a class.
Before Hooks, we would need to understand how this keyword works in Javascript, and to remember to bind event handlers in class components. There wasn't a particular way to reuse stateful component logic and this made the code harder to follow.
We needed to share stateful logic in a better way. React is designed to render components, and it doesn't know anything about routing, fetching data, or architecture of our project. So, React Hooks came to the rescue.
Hooks are just functions that are exported from the official React page. They allow us to manipulate components in a different manner.
Hooks allow for attaching reusable logic to an existing component and use state and lifecycle methods inside a React functional component. We can organize the logic inside a component into reusable isolated units. Hooks give developers the opportunity to separate presentation logic, the logic that is associated with how components appear on a page, from business logic, the logic that is associated with handling, manipulating, and storing business objects.
There are some rules about how to use hooks. The following rules are:
- only call hooks at the top level of the component
- don't call hooks inside loops, conditionals, or nested functions
- only call hooks from React functions
- call them from within React functional components and not just any regular Javascript function
Okay, now let's start working with our application.
Application Tools
- [x] Install NodeJS and make sure it is the LTS(long term support) version. LTS version is a less stable version of NodeJS. We will use NPM (node package manager) and we will use it to install create-react-app.
- [x] Install your preferred code editor or IDE. I will be using Visual Studio Code. You can download it from this website. It is free to use.
- [x] create-react-app is an npm package that we can bootstrap our React application without any configuration.
Let's install our project. Open up your terminal and cd into the directory you want to create the project.
cd desktop
# type this command to install create-react-app, you can give any name for the app.
npx create-react-app weather-app
Now, let's wait for the project to be created, now all the packages are installed for us to use it.
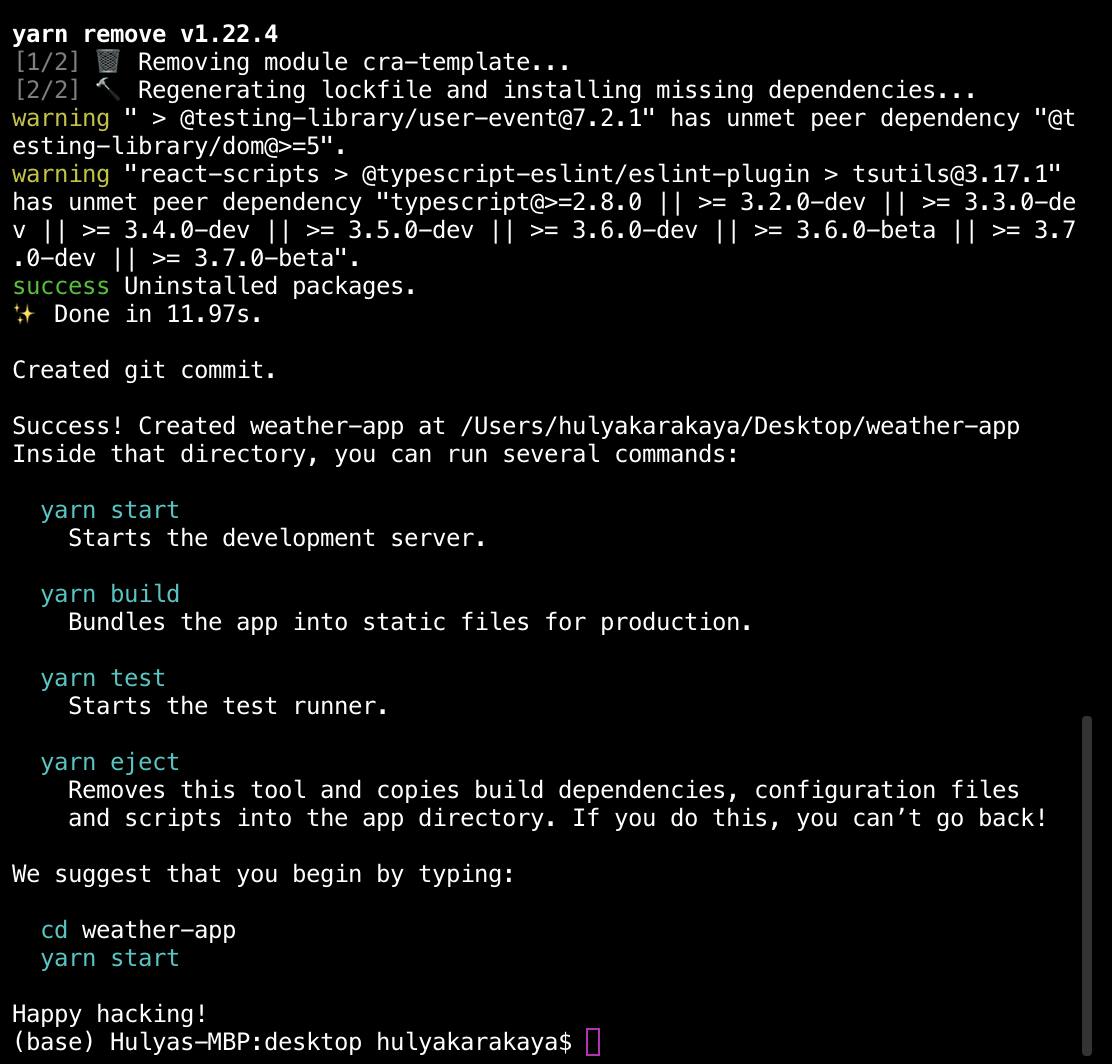
Let's go inside our project folder, type the name of our project, and cd into it.
cd weather-app
# open the project files with Visual Studio or any code editor

#start the app
npm start
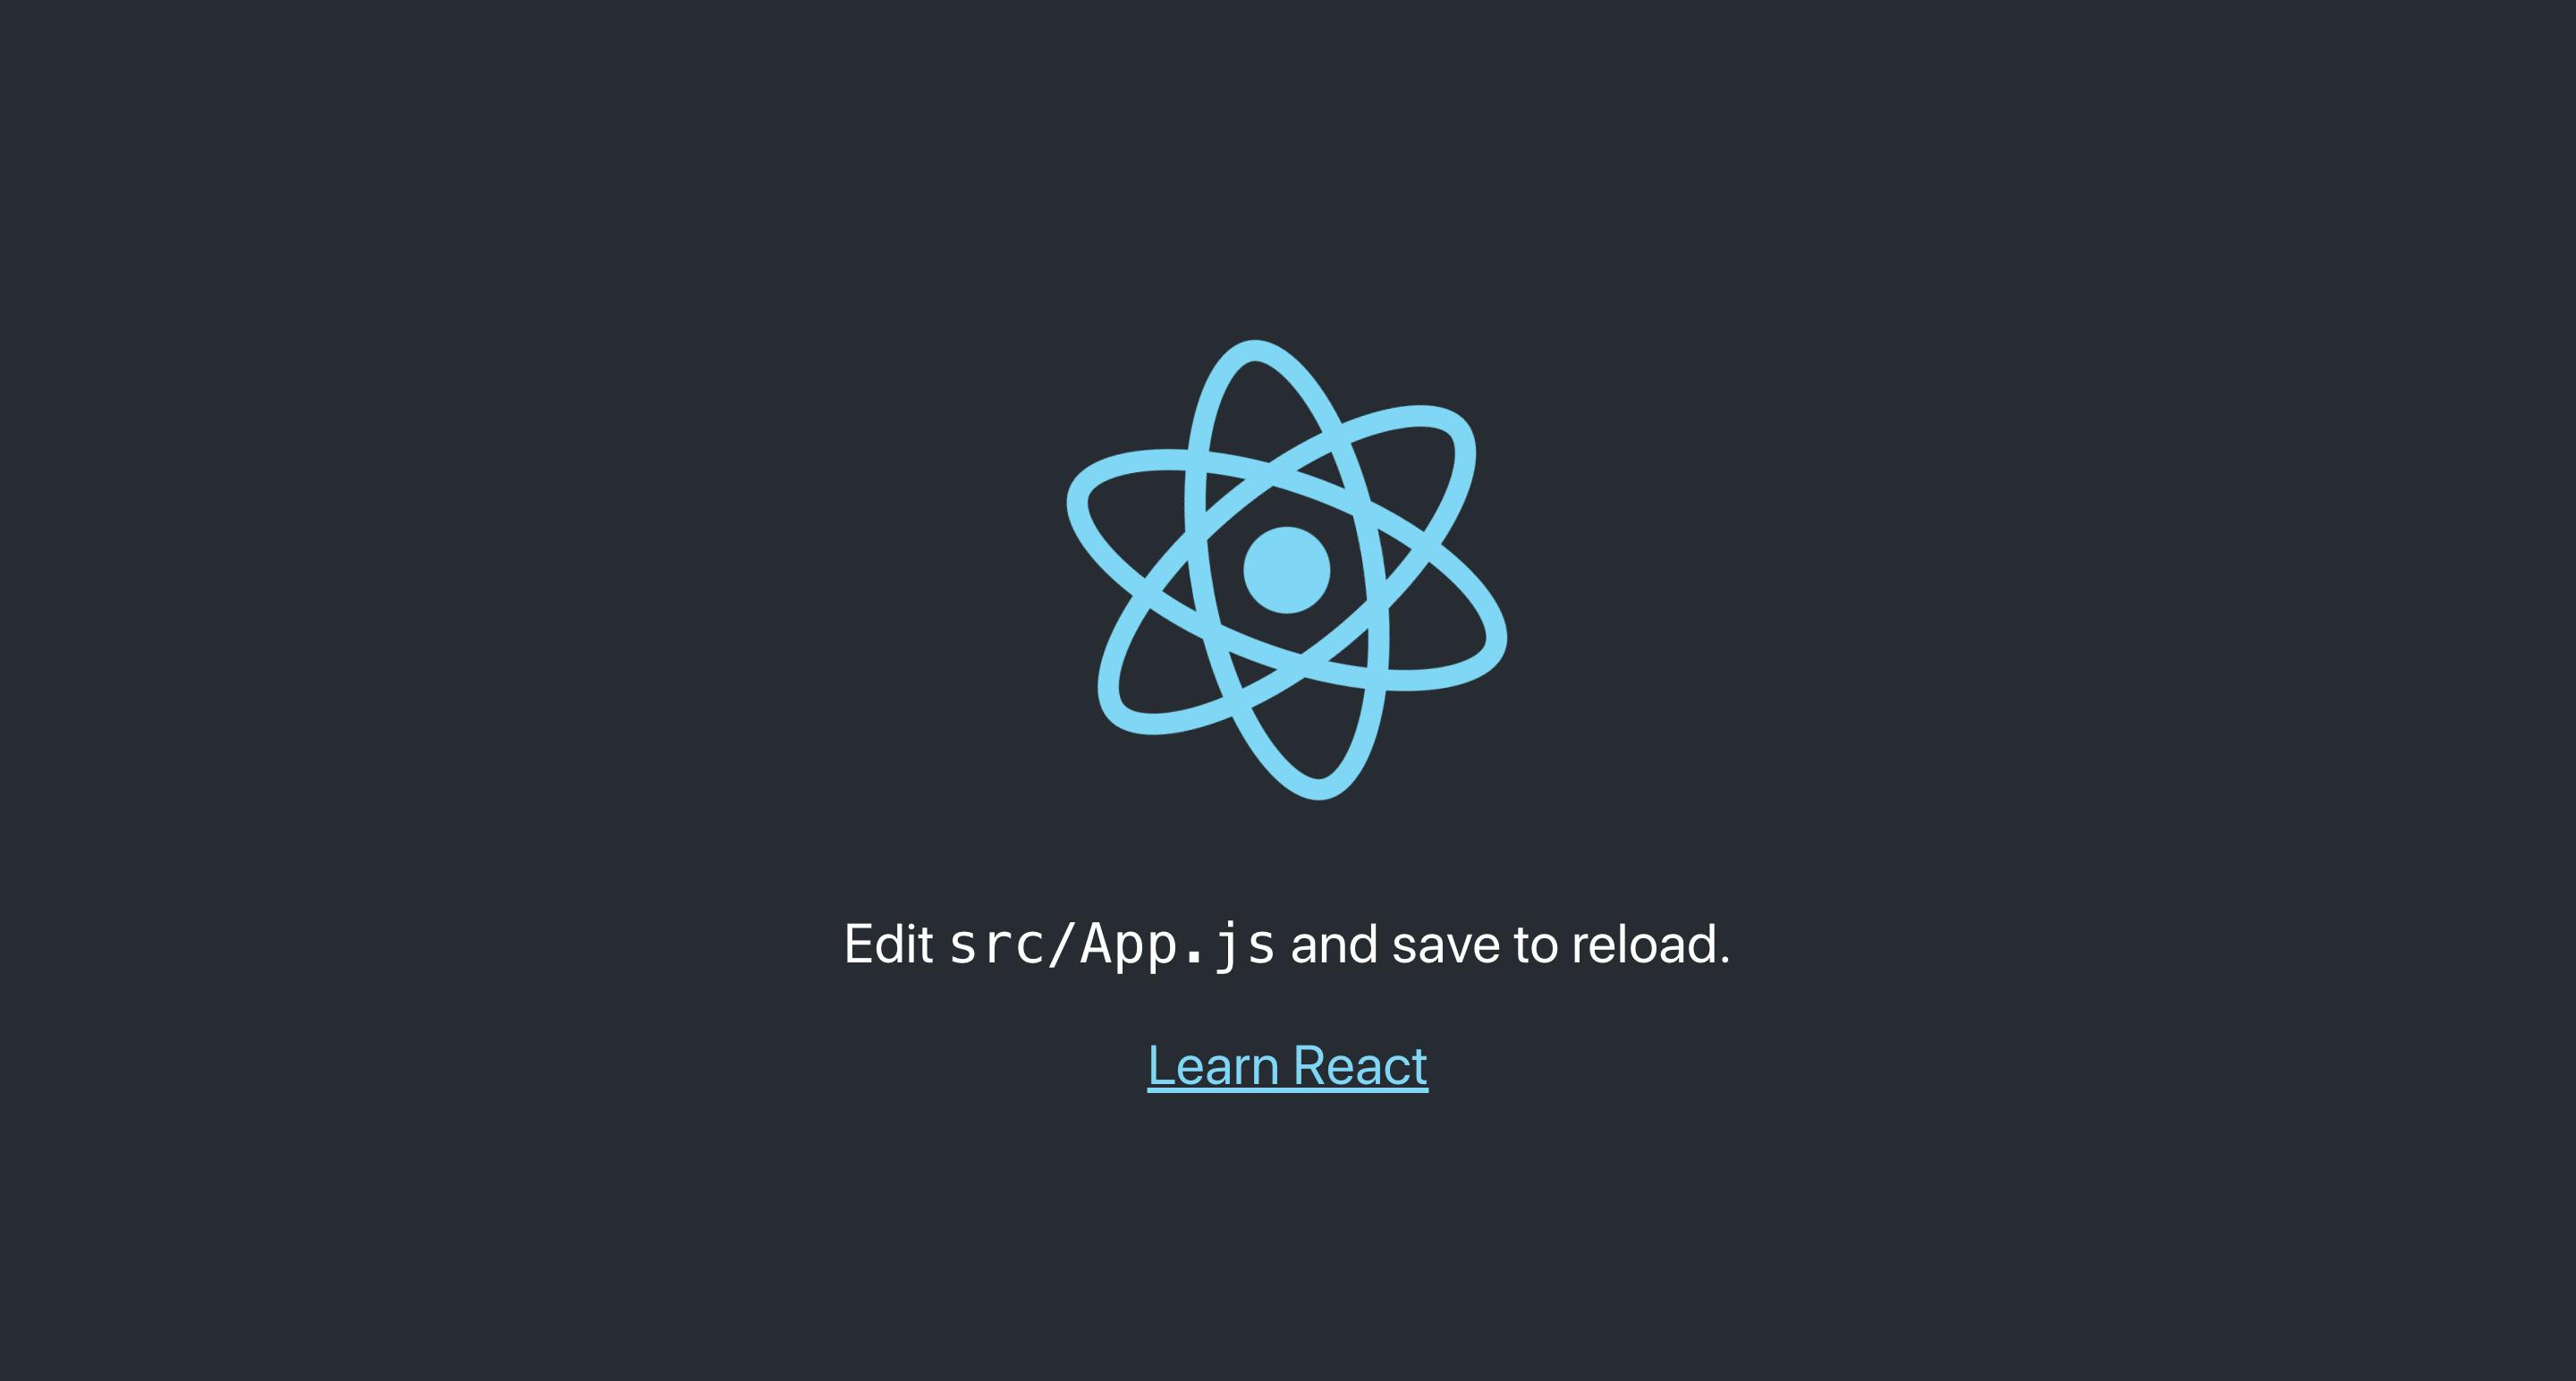
Now we can see our app is up and running. Before starting our app, let's make some cleanup and remove some of the files that we will not use.
Let's remove App.test.js, index.css, logo.svg, setupTests.js from the src folder. You can copy and paste the basic structure for App.js and index.js from the code snippets below.
// App.js

import React from 'react';
import './App.css';

function App() {
  return <div className="App"></div>;
}

export default App;
// index.js

import React from 'react';
import ReactDOM from 'react-dom';
import App from './App';
import * as serviceWorker from './serviceWorker';

ReactDOM.render(<App />, document.getElementById('root'));

// If you want your app to work offline and load faster, you can change
// unregister() to register() below. Note this comes with some pitfalls.
// Learn more about service workers: https://bit.ly/CRA-PWA
serviceWorker.unregister();
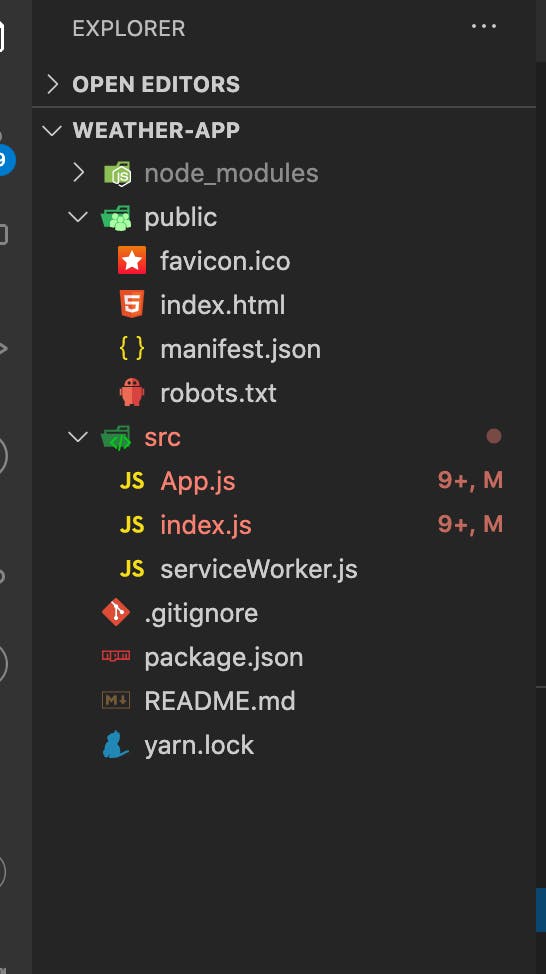
Also, we can remove logo files from the public folder, now my files are looking like this:
Explore Open Weather App and Styling
Getting Our API Key
Let's go to open weather map to get our API key to fetch real weather data.
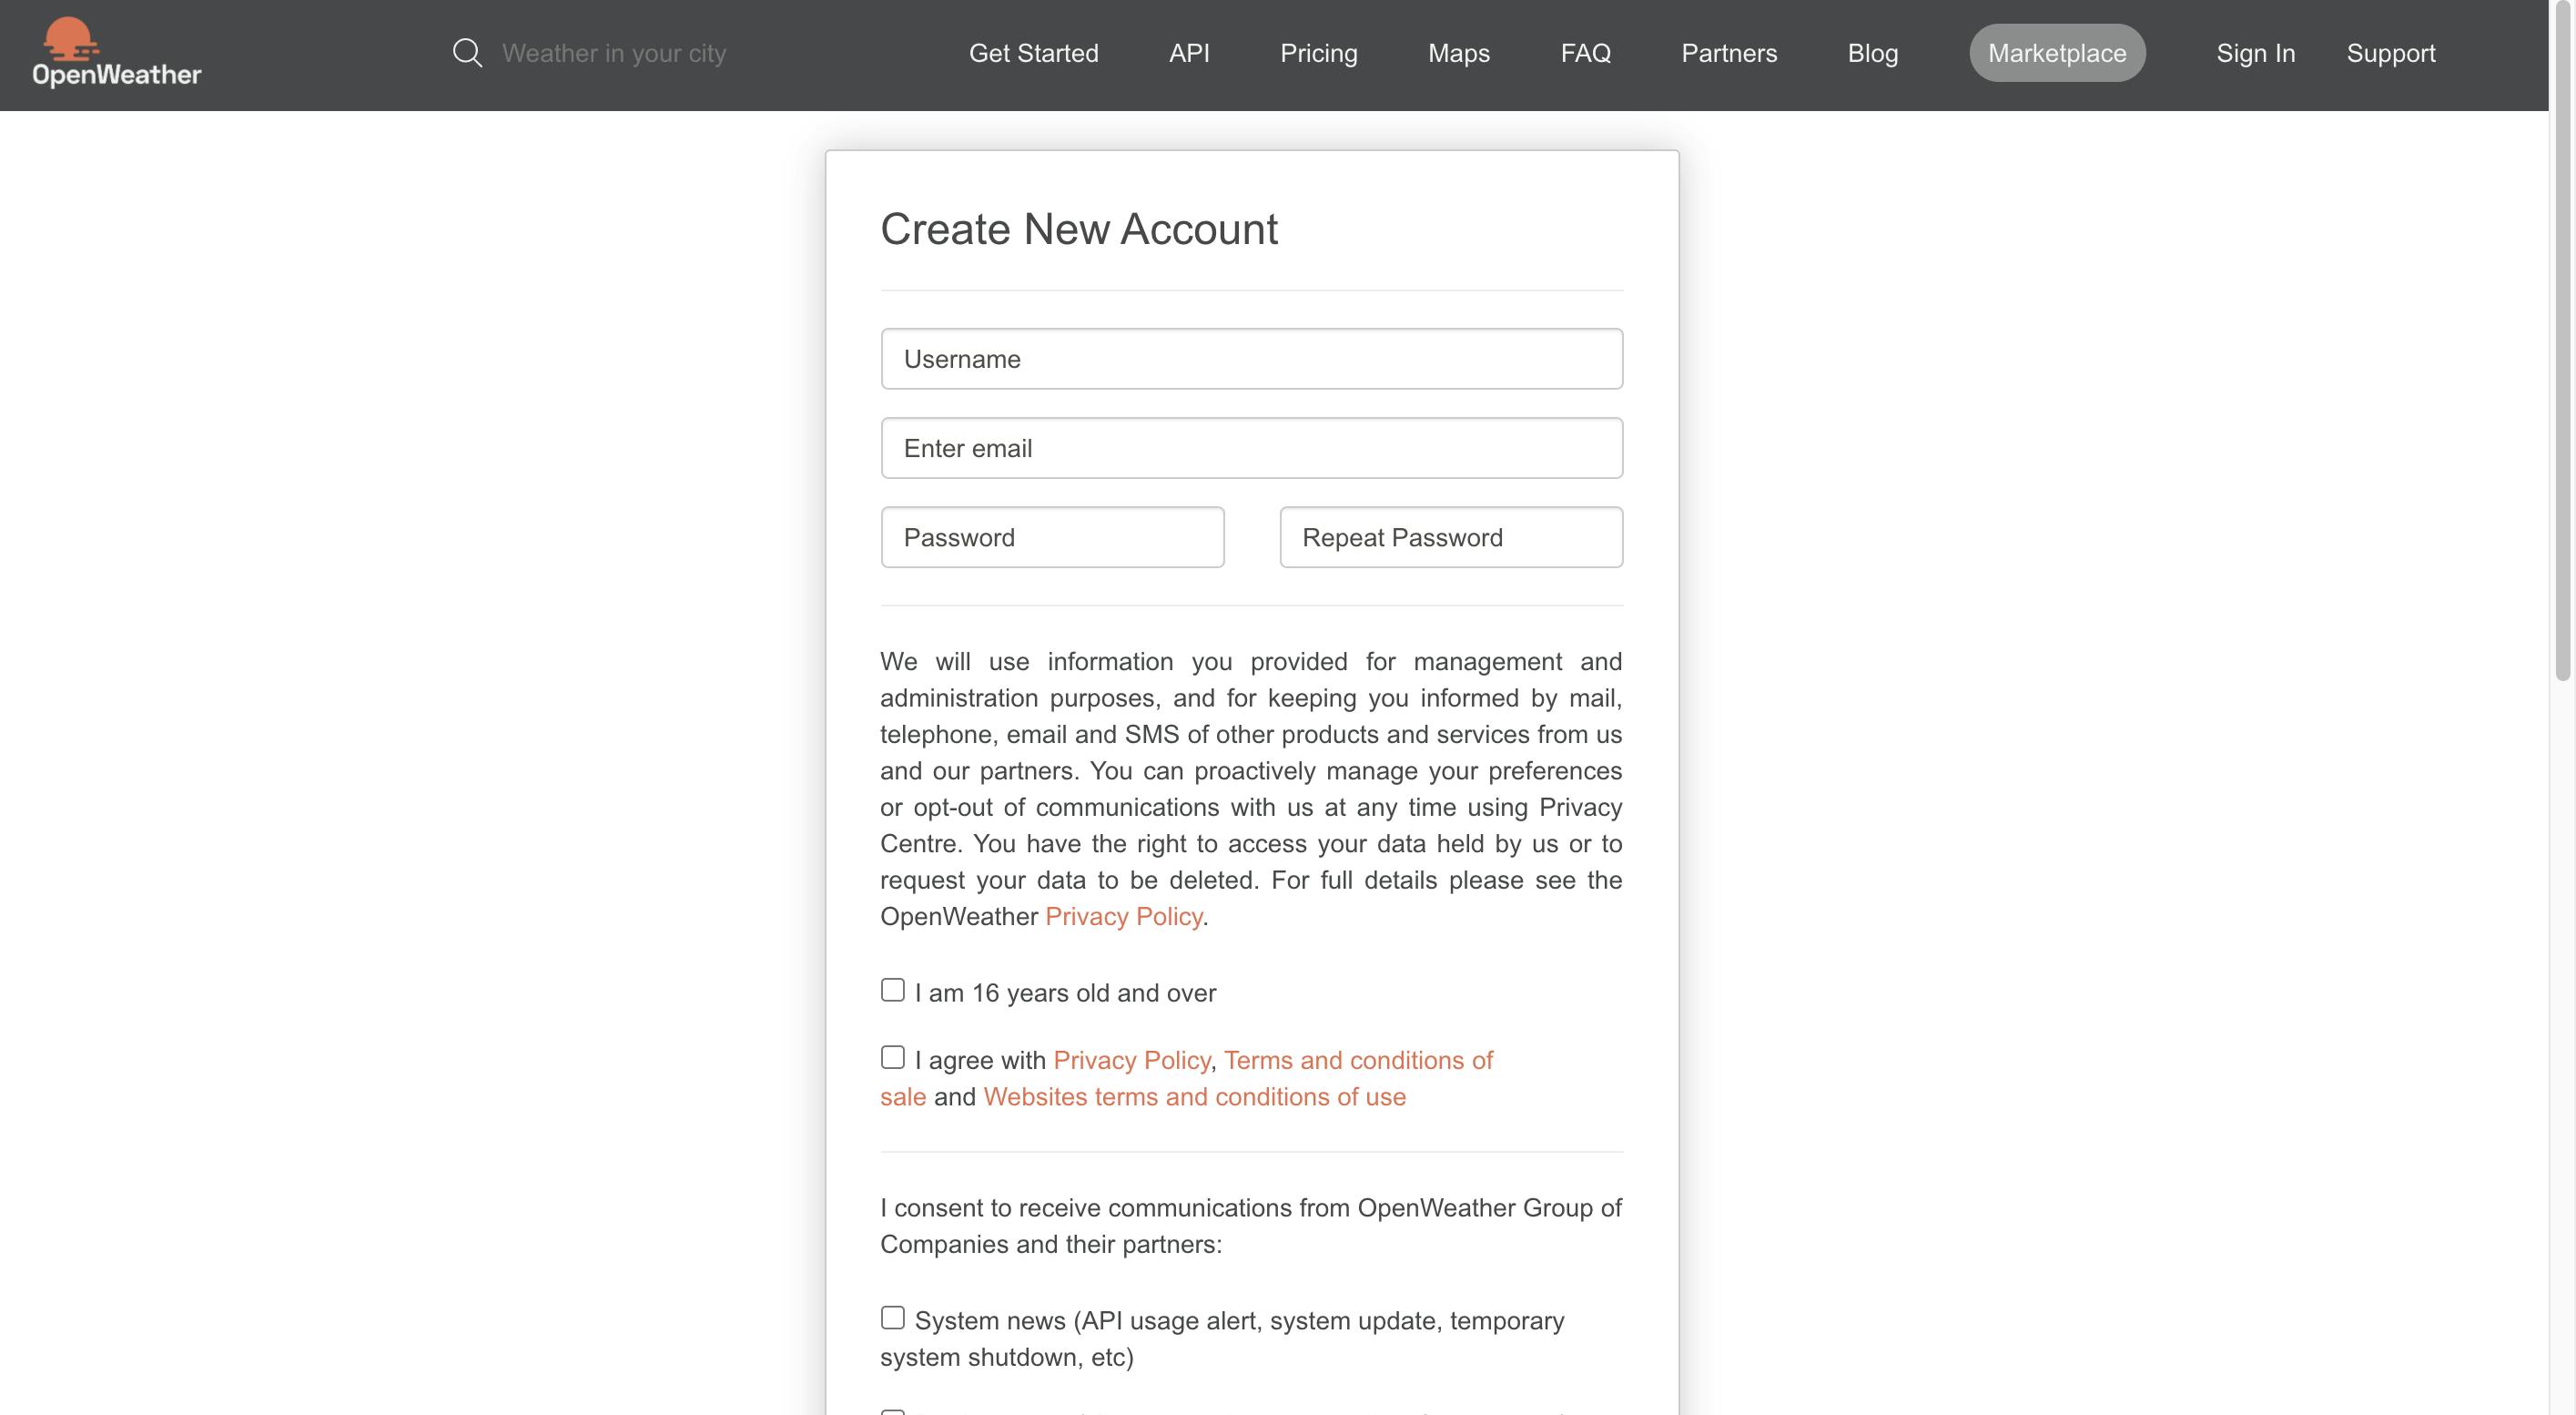
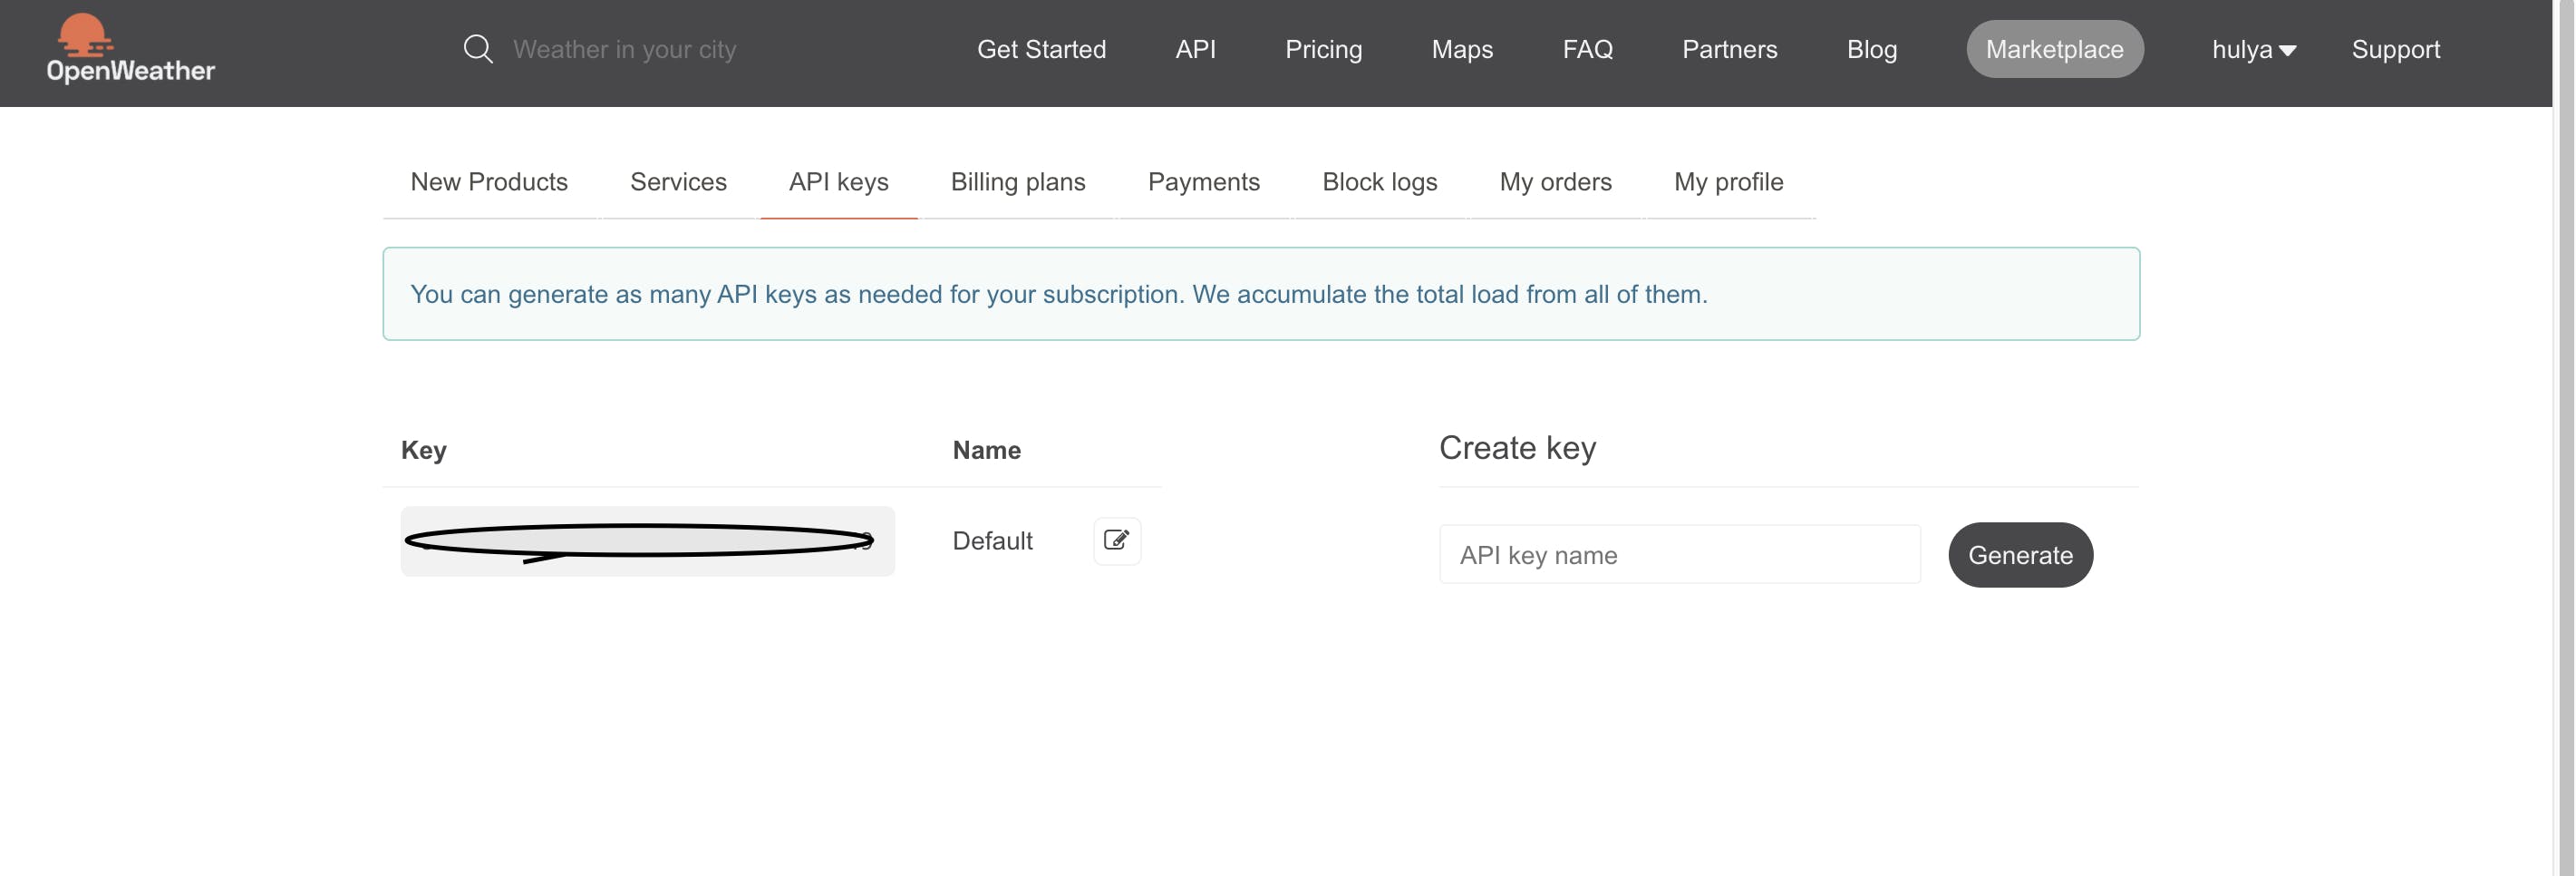
Choose 5 Day / 3 Hour Forecast from the page. With this API, we can get access to the next 5-day weather data for a specified city. But before we use the open weather map, we need to have an API key. For that create an account and go to the API keys tab to see your API key.
Let's check the example from the page and open a new tab and paste this URL.
# replace API key with your API key
api.openweathermap.org/data/2.5/forecast?q=London,us&appid={API key}
Now, we can see the JSON data.
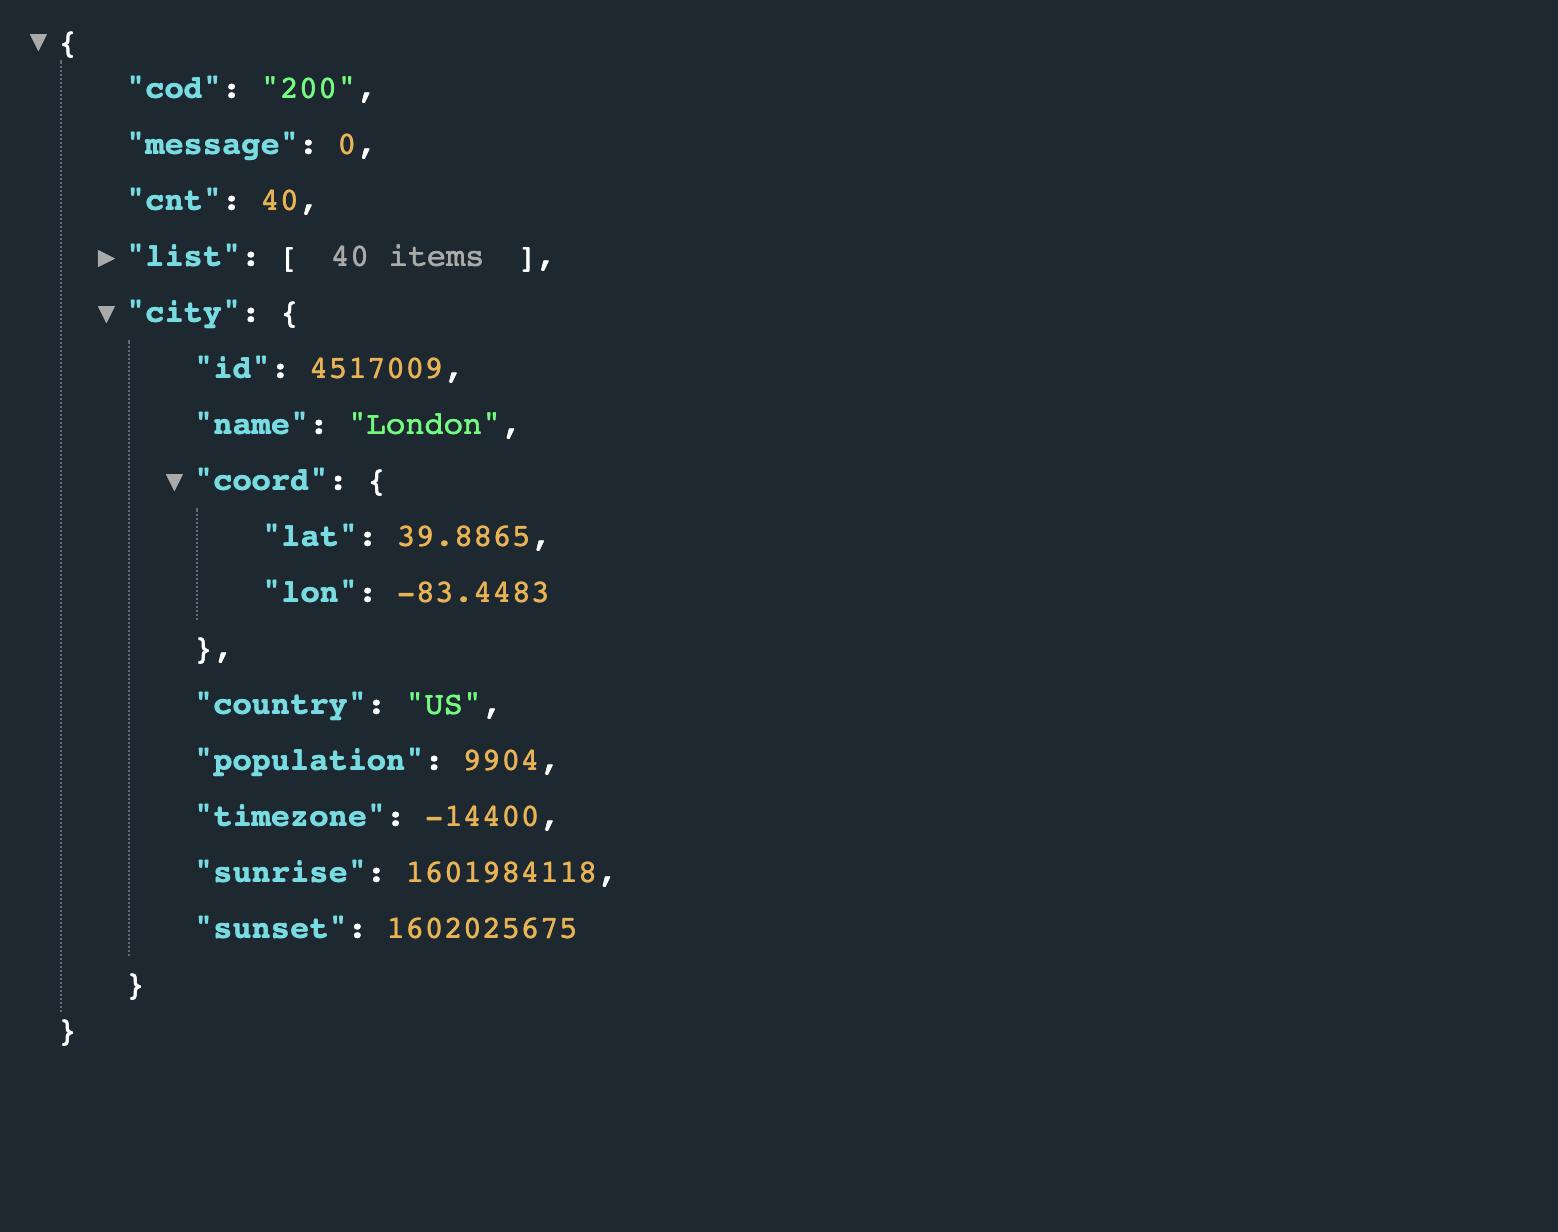
Default data comes with the imperial system, we can change it to the metric system by specifying another query parameter. If you are comfortable using the imperial system, you don't need to change the query.
api.openweathermap.org/data/2.5/forecast?q=London,us&appid={API key}&units=metric
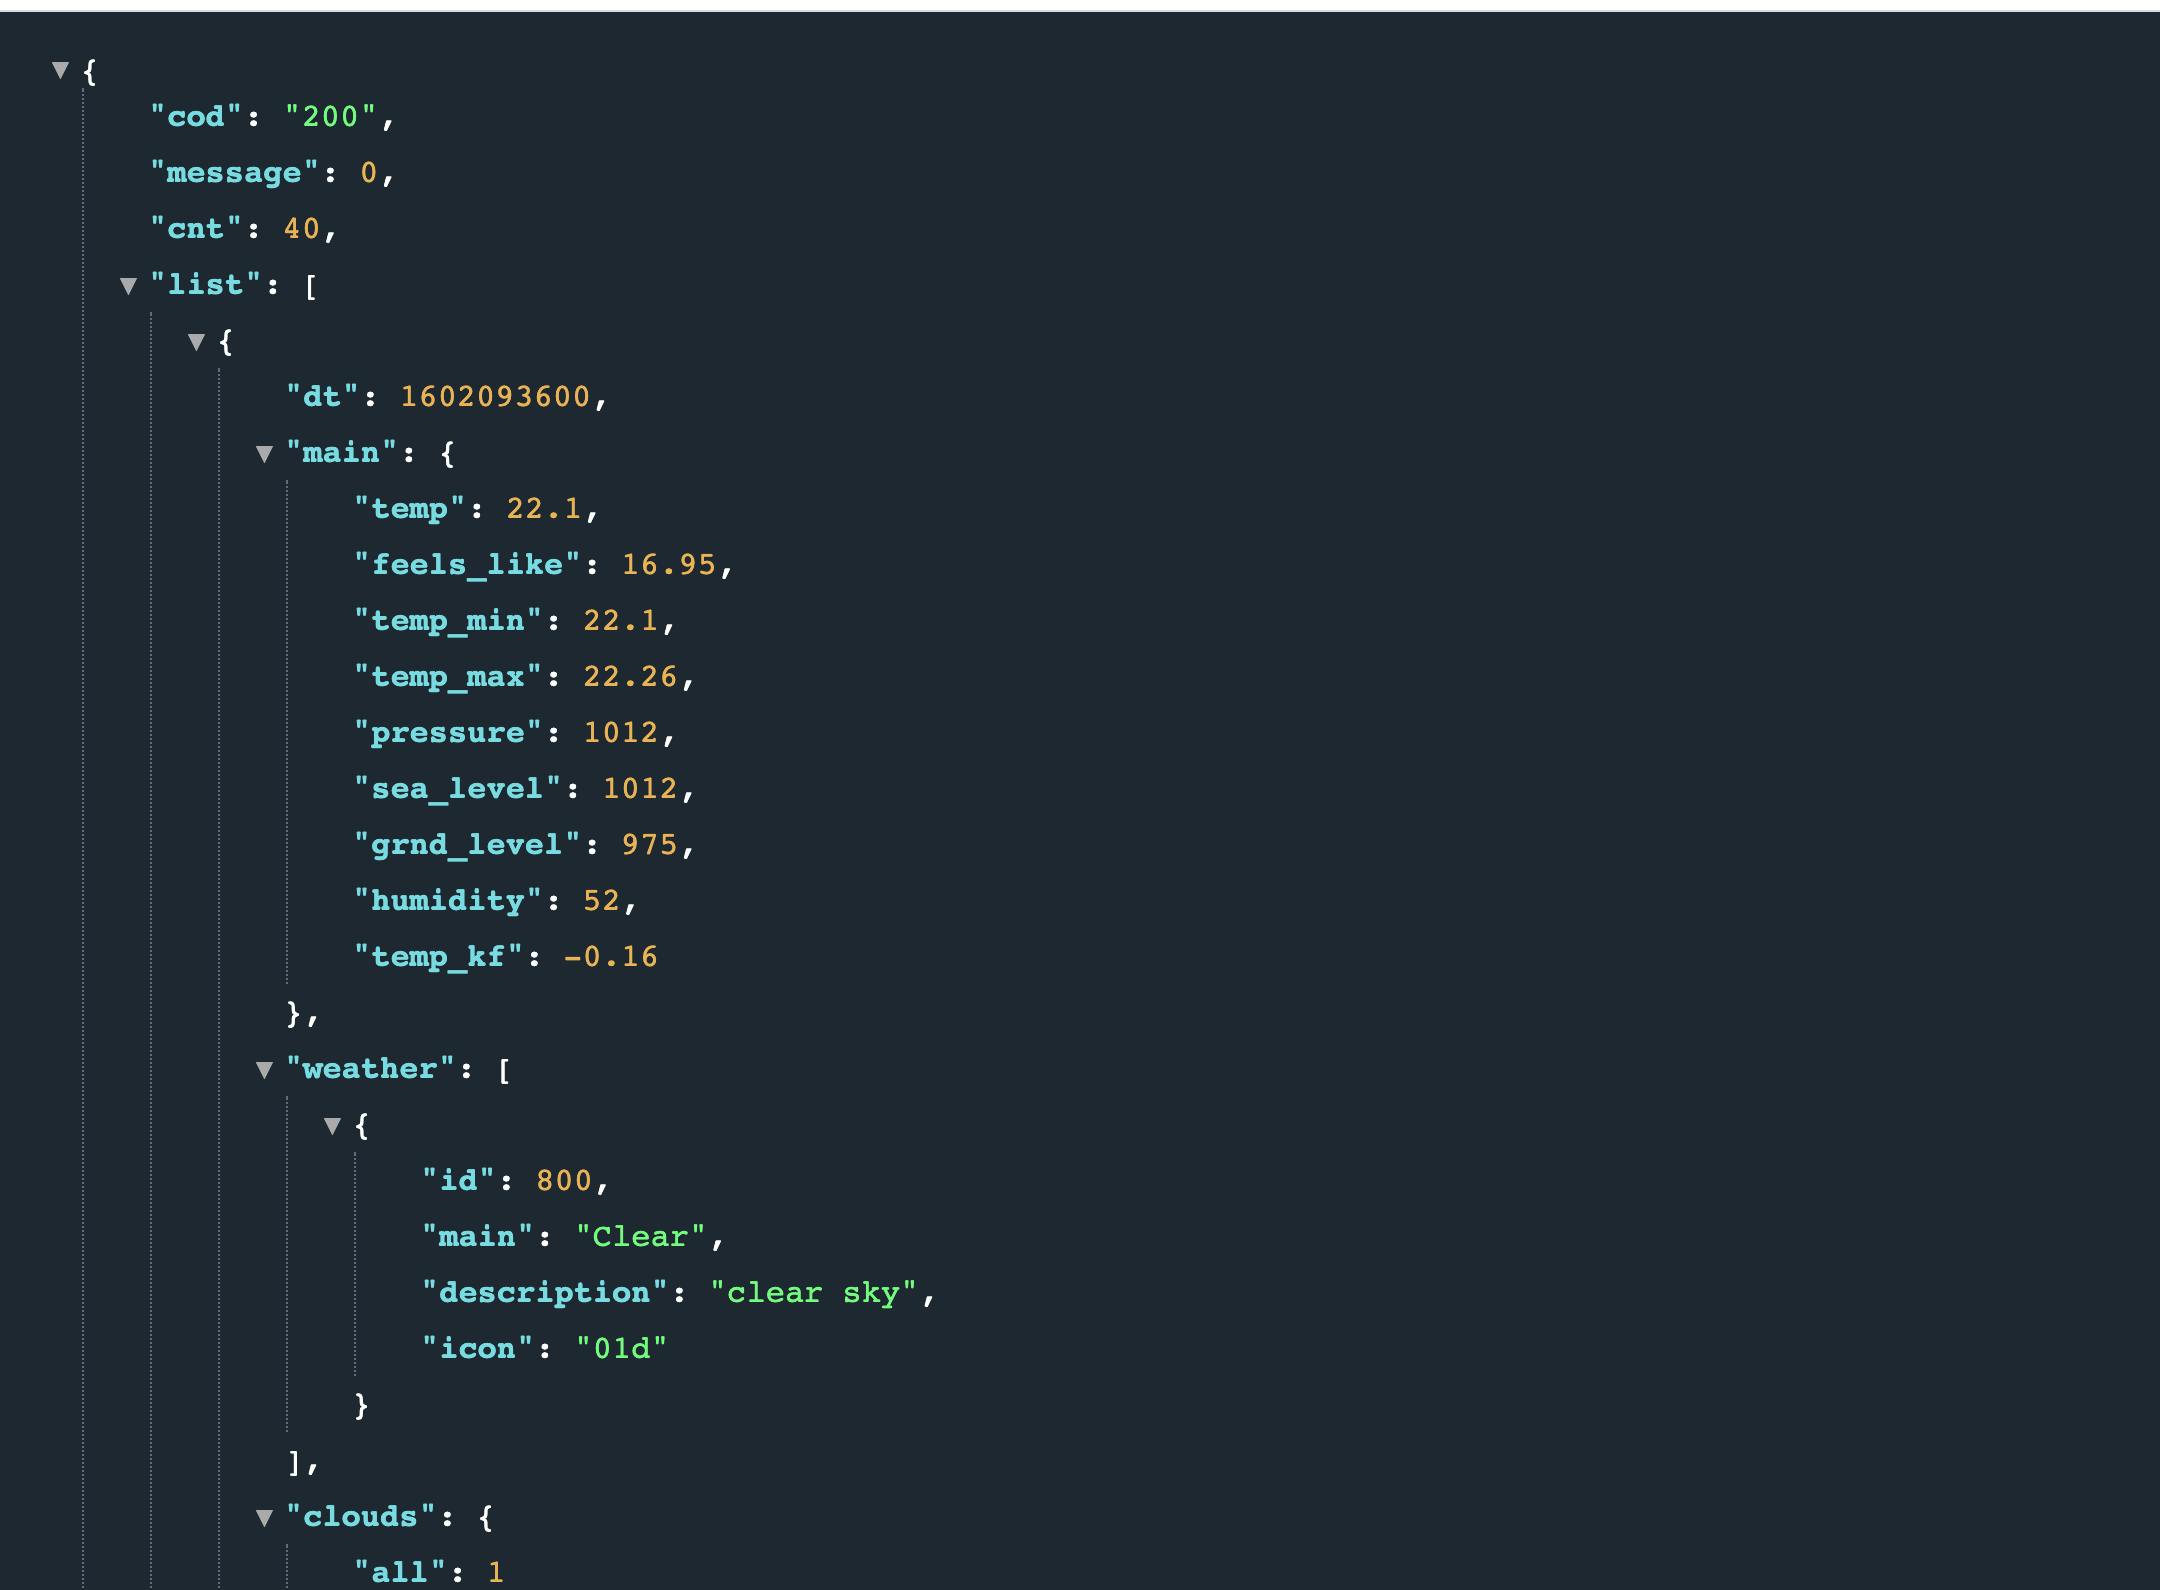
Now, let's see what we get from our data. We will be using the icon for the weather, let's see what the code means. From the documentation, we can find this page and see what the icon codes mean. We will use this URL http://openweathermap.org/img/wn/10d@2x.png for our image source.
We will fetch the minimum and maximum temperature of the next five days, along with icons.
Now, let's create a new folder named apis directory under the src directory and create a new file named config.js for our API key, and add this file to your .gitignore file to not to expose our API key. Also, let's put our baseUrl here. We will come back here later to add our fetching logic.
// apis/config.js
export const API_KEY = [YOUR_API_KEY];
export const API_BASE_URL = 'http://api.openweathermap.org/';
Styling The App
We will be using React Bootstrap for styling the app. You can check out the documentation.
Let's install the react-bootstrap to our project
npm install react-bootstrap bootstrap
Now, we need to include CSS to our project inside src > index.js.
// index.js
import 'bootstrap/dist/css/bootstrap.min.css';
Creating our First Component 🥳
Let's start by creating our first component and show our API data to the user.
Inside the src folder, let's create another folder named components. Now, create our first component and name it WeatherCard.js
This component will be a functional component and it will receive some props and we will display them. We will use the Bootstrap Card component to add some styling.
Now, we can copy Card component from bootstrap to our component. We don't need Card.Text and Button, we will remove those.
// components/WeatherCard.js

import React from 'react';
import {Card} from 'react-bootstrap';

const WeatherCard = (props) => {
  return (
    <Card style={{width: '18rem'}}>
      <Card.Img variant="top" src="holder.js/100px180" />
      <Card.Body>
        <Card.Title>Card Title</Card.Title>
      </Card.Body>
    </Card>
  );
};

export default WeatherCard;
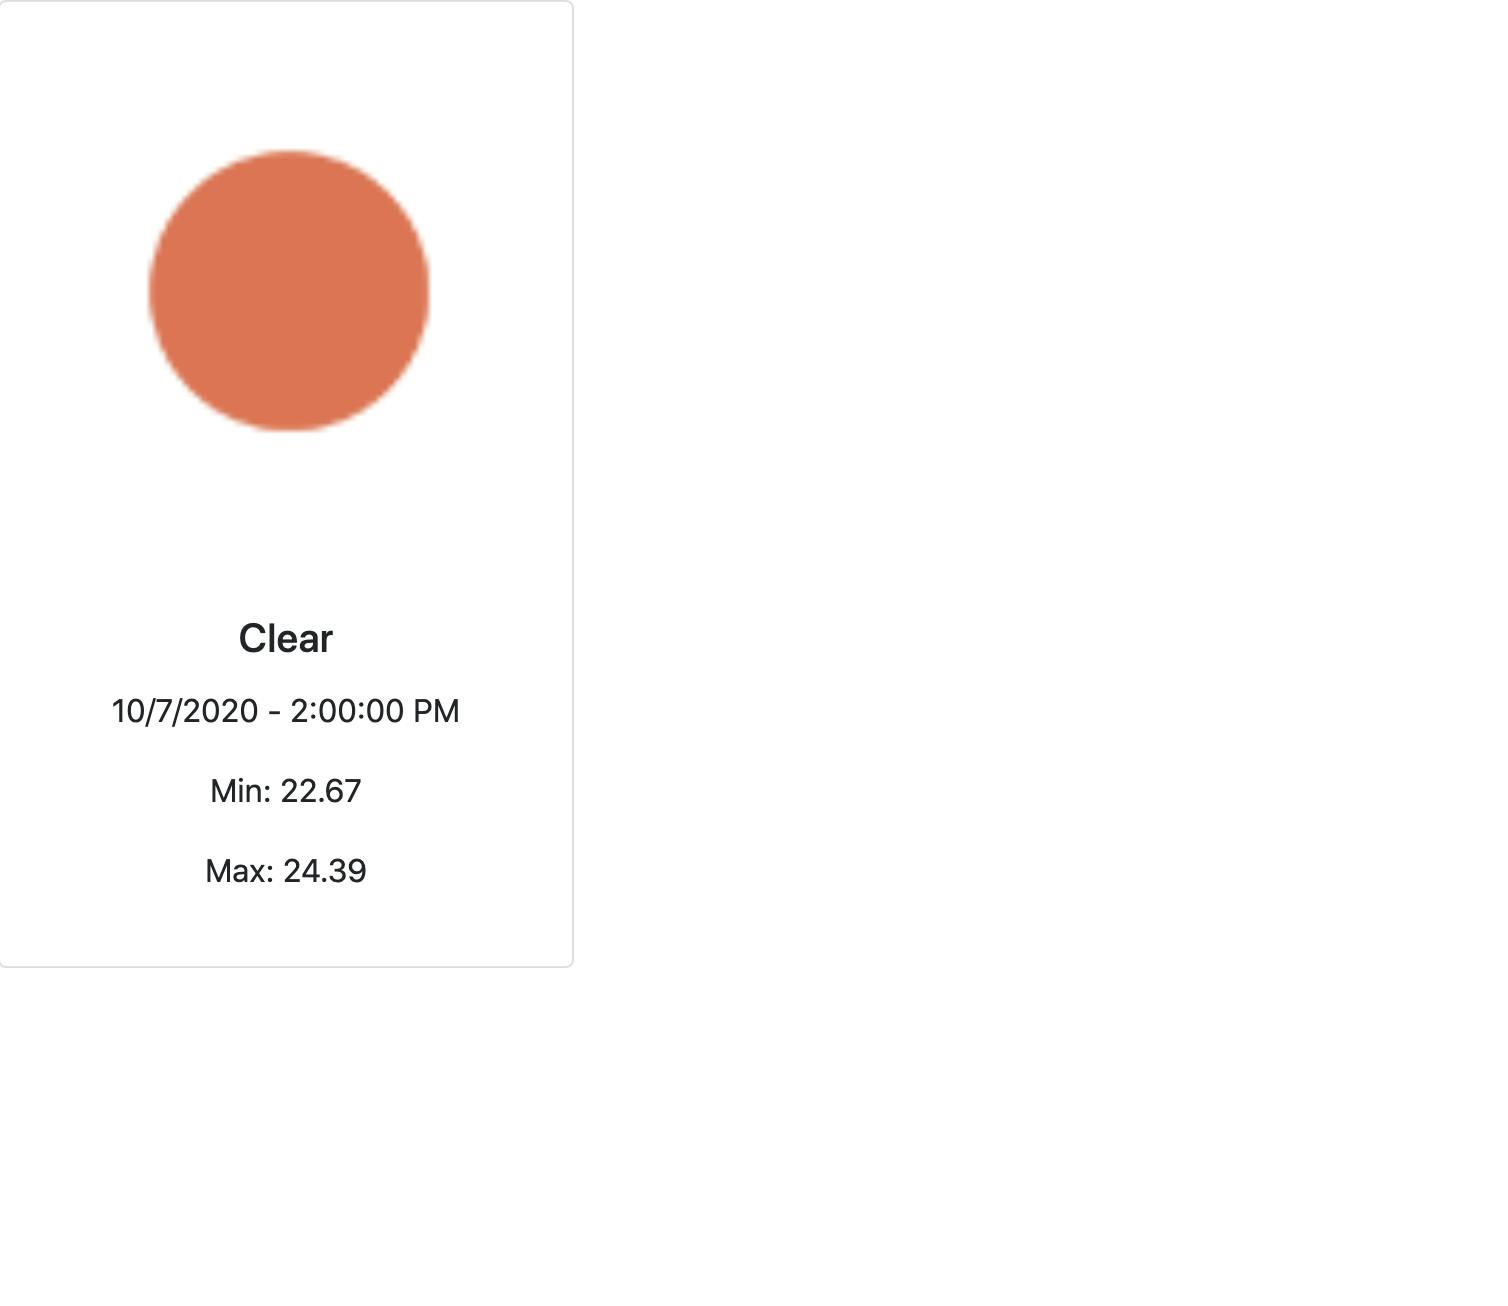
We want to show the minimum and maximum temperatures for a date, but dt datetime is in Unix timestamp. Also, we will display the main weather.
Now, let's extract our props and display them inside the jsx. Props have the same name as the JSON data that we get from API.
For the icon, we can get a list of weather conditions. Every icon has a different code number.
- example URL :
http://openweathermap.org/img/wn/10d@2x.png
We will replace 10d with the icon prop to make it dynamic.
// components/WeatherCard.js

import React from 'react';
import {Card} from 'react-bootstrap';

const WeatherCard = ({dt, temp_min, temp_max, main, icon}) => {
  // create a date object with Date class constructor
  const date = new Date(dt);
  return (
    <Card style={{width: '18rem'}}>
      <Card.Img
        variant="top"
        // get the src from example url and pass the icon prop for icon code
        src={`http://openweathermap.org/img/wn/${icon}@2x.png`}
      />
      <Card.Body>
        <Card.Title>{main}</Card.Title>
        {/*  datetime is received in milliseconds, let's turn into local date time */}
        <p>
          {date.toLocaleDateString()} - {date.toLocaleTimeString()}
        </p>
        {/* minimum temperature */}
        <p>Min: {temp_min}</p>
        {/* maximum temperature */}
        <p>Max: {temp_max}</p>
      </Card.Body>
    </Card>
  );
};

export default WeatherCard;
Now, let's import the WeatherCard component into App.js. And pass our props, we will pass hardcoded values for now.
// App.js

import React from 'react';
import WeatherCard from './components/WeatherCard';
import './App.css';

const App = () => {
  return (
    <div className="App">
      {/* dt is in unix-seconds but javascript uses milliseconds, multiply with 1000 */}
      <WeatherCard
        dt={1602104400 * 1000}
        temp_min="22.67"
        temp_max="24.39"
        main="Clear"
        icon="01d"
      />
    </div>
  );
};

export default App;
Now, let's start our app with npm start from the terminal. We can see our weather data is displayed. We will use this component to show the next 5 days.
City Selector Component
We will make a new component that the user can select a city and we will display the weather data for that city.
In our component, we will create input and a button. When the user clicks the button, we will fetch the weather forecast for that city.
We will use Bootstrap Layout to create rows and columns. You can find the documentation at this link.
Now, let's go to the components folder and create another folder named CitySelector.js and create our boilerplate code.
useState Hook
State helps build highly performant web apps. To keep track of our application logic, we need to use state. We can reflect any UI or the user interface changes via changes in state.
To be able to change our button's state, we need a special hook named useState. With useState, we can add state to functional components.
useState returns an array of two items the first element is the current value of the state, and the second is a state setter function. State tracks the value of our state. Whenever the state updates, it should also rerender JSX elements. The setter function is gonna be used to update our state value.
In class components, state is always an object, with the useState hook, the state does not have to be an object.
When dealing with objects or arrays, always make sure to spread your state variable and then call the setter function.
Every time, with every rerender we don't mutate our state, we get a completely new state, we can change our state, with the setter function.
We need to contain one state property and that will be the city. In order to use, useState in our component, we have to import useState first. useState is a named export; so, we will export it with curly braces.
import React, { useState } from 'react';
Our goal is to update the state when a user clicks on a button.
We need to define a new variable and set it to useState hook. Inside the hook as an argument, we need to pass the initial value as an empty string.
// components/CitySelector

import React, {useState} from 'react';

const CitySelector = () => {
  const [city, setCity] = useState('');
  return <div></div>;
};

export default CitySelector;
We will add Row, Col, FormControl, and Button components from Bootstrap to create our JSX elements. FormControl is for our input element and we need to take its value by passing event.target.value
We will pass for the Button component one function for now, we will use it soon to display our data.
// components/CitySelector.js
import React, {useState} from 'react';
import {Row, Col, FormControl, Button} from 'react-bootstrap';
const CitySelector = () => {
const [city, setCity] = useState('');
return (
<>
<Row>
<Col>
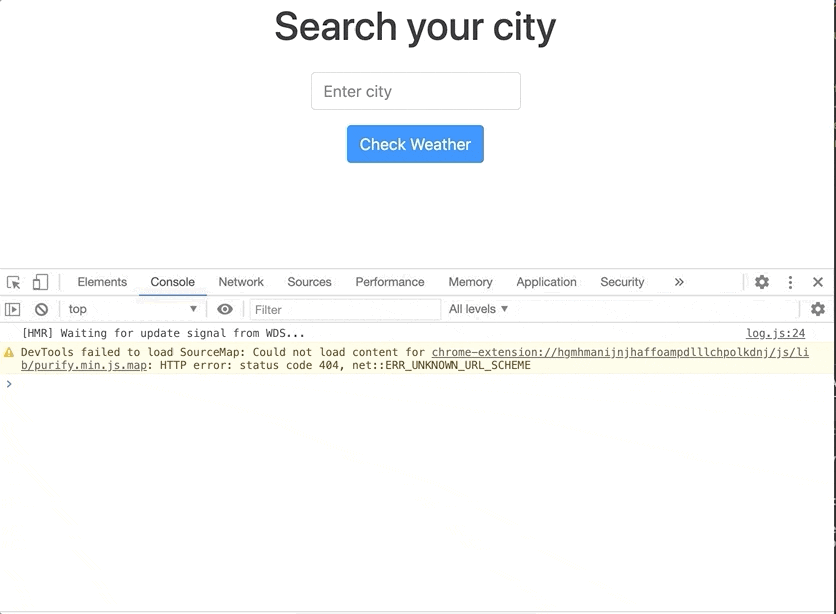
<h1>Search your city</h1>
</Col>
</Row>
<Row>
{/* xs={4} takes the one third of the page*/}
<Col xs={4} className="text-center">
<FormControl
placeholder="Enter city"
// update city value with the user's input
onChange={(event) => setCity(event.target.value)}
// value will be the currently selected city
value={city}
/>
</Col>
</Row>
<Row>
<Col>
{/* event handler for button click */}
<Button onClick={onSearch} }>Check Weather</Button>
</Col>
</Row>
</>
);
};
export default CitySelector;
Now, let's import our CitySelector component into App.js. Also, we can remove our hardcoded WeatherCard component, we can now get the city data from user input.
Our App component is now looking like this. Also, I added a Container from bootstrap.
// App.js

import React from 'react';
import CitySelector from './components/CitySelector';
import './App.css';
import {Container} from 'react-bootstrap';

const App = () => {
  return (
    <Container className="App">
      <CitySelector />
    </Container>
  );
};

export default App;
Also, copy and paste this CSS code into your App.css file.
/* App.css */

.App {
  text-align: center;
}

.row {
  justify-content: center;
  margin: 15px 0;
}
Displaying API Results
Now, time to display our API data inside our application.
Let's go back to our CitySelector component and call our API.
First, let's create an anonymous function for our onSearch function.
To grab data from an external resource or to just retrieve data, we will use fetch browser API. Fetch takes our url call. We need to get our baseUrl and our Api key from our config.js file. Let's import it to our file.
import {API_KEY, API_BASE_URL} from '../apis/config';
Fetch returns a promise and we need to await it, we will put .then, after that our response will be in json format, we need to extract the body of the response, and finally, we will get our result.
Now onSearch function should look like this:
// components/CitySelector.js

const onSearch = () => {
  fetch(`${ API_BASE_URL}/data/2.5/forecast?q=${city}&appid=${API_KEY}&units=metric`)
    .then((response) => response.json())
    .then((result) => console.log(result));
};
Also, we can show our data when the user presses the Enter key. Let's implement that with JavaScript.
Add onKeyDown to FormControl (input), it will receive a callback function with the event inside.
// components/CitySelector.js

const onKeyDown = (event) => {
  if (event.keyCode === 13) {
    onSearch();
  }
};

<Row>
  <Col xs={4} className="text-center">
    <FormControl
      placeholder="Enter city"
      onChange={(event) => setCity(event.target.value)}
      value={city}
      // add onKeyDown
      onKeyDown={onKeyDown}
    />
  </Col>
</Row>;
To display our data, we need to create another state for our results.
// components/CitySelector.js

const CitySelector = () => {
  const [city, setCity] = useState('');
  const [results, setResults] = useState(null);

  const onSearch = () => {
    fetch(
      `${API_BASE_URL}/data/2.5/forecast?q=${city}&appid=${API_KEY}&units=metric`
    )
      .then((response) => response.json())
      // update the results
      .then((results) => setResults(results));
  };

  return (
    <>
      <Row>
        <Col>
          <h1>Search your city</h1>
        </Col>
      </Row>

      <Row>
        <Col xs={4} className="text-center">
          <FormControl
            placeholder="Enter city"
            onChange={(event) => setCity(event.target.value)}
            value={city}
          />
        </Col>
      </Row>

      <Row>
        <Col>
          <Button onClick={onSearch}>Check Weather</Button>
        </Col>
      </Row>
    </>
  );
};
Okay, that's it for this post. For the useEffect Hook and custom hooks, we will continue on with the second part of the tutorial.
Thanks for your time. I hope you liked it 🤞